| Latest Innovations | |
| Chemical Guys News | |
| Exterior How-To's | |
| Interior How-To's | |
| Drying How-To's | |
| Ceramic How-To's | |
| Detailing University |
Ready to give your ride a superhero shield? Car sealants are here to protect your paint from Mother Nature’s mood swings, road grime, and those sneaky UV rays. Think of sealants as the ultimate bodyguard for your vehicle, bonding with the car paint to create an impenetrable force field.
Unlike natural waxes that crumble under extreme weather and temperatures, manmade sealants like JetSeal take paint protection to superhero status. JetSeal sticks directly to your paint, creating a formidable barrier against water spots, dirt, road grime, and sunlight. With its innovative UV tech, it keeps those harmful rays at bay and prevents your car paint from fading.
Here’s why you’ll want to roll with a sealant:
- Long-Lasting Protection: Enjoy up to a year of top-notch defense, way longer than traditional waxes.
- Enhanced Gloss: Boost your car’s shine and keep it looking slick.
- Reduced Upkeep: Less time and money spent on maintenance thanks to easier washes and fewer reapplications.
- High Resistance: Strong enough to fend off bird droppings, tree sap, and even acid rain.
Follow our step-by-step guide to apply car sealant and keep your car gleaming like it just rolled off the showroom floor.
Step 1: Prep the Car Surface

You wouldn’t dive into a mud pit after a fresh shower, right? Same goes for your car—no slapping on a coating without some solid prep first.
Kick things off with a thorough wash using a car-specific soap—basically a spa day for your ride. Dry it down with clean microfiber towels to dodge those annoying water spots.
Then, grab a clay bar to remove any embedded contaminants. It’s like hitting reset before the main event.
Got scratches or swirls? Buff ‘em out with a polish—it’s like ironing out wrinkles before dressing up.
Prep like a pro, and your sealant will be shining brighter than the car next door!
Step 2: Choose Your Sealant Application Method
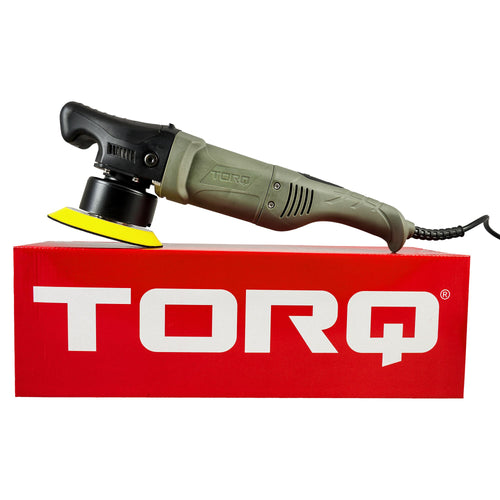
Ready to get your shine on? You can apply car sealants by hand, sure, but if you’re aiming for pro-level results (and more free time), go for the machine. It’s faster, smoother, and gives that flawless, even finish we all dream of. Plus, you’ll have more time to sit back and admire your gleaming ride.
Machine Application

Let’s get polishing! Attach a soft foam pad to your dual-action polisher—this is your VIP ticket to a flawless finish.
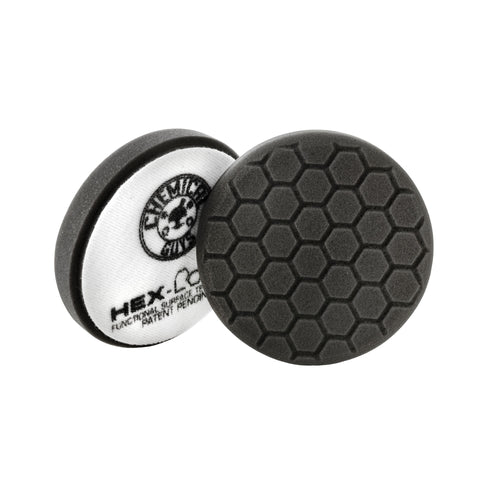
Squeeze out 4 dime-sized drops of sealant onto a black or red Hex Logic pad. These pads are ultra-soft and super gentle, so they’re perfect for the job. Remember, ONLY use a DA polisher—no rotary machines unless you want to turn your car into a paint disaster.
Before you fire up the machine, dab the pad onto a 2'x2' section of your vehicle.
Power up the polisher on its lowest setting (speed 15) while it’s still on the paint—this keeps the sealant from flying off and making a mess that rivals your teenager’s bedroom.
Spread the sealant using smooth up-and-down strokes, then go side-to-side for even coverage. Your ride will be looking so good, that even your neighbors will be impressed.
Hand Application

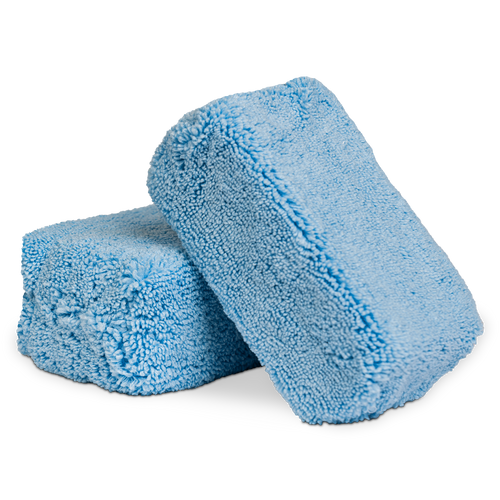
By hand-applying, you’ll achieve a personalized touch and ensure every nook and cranny gets that protective layer.
Clean the Surface: Start with a thorough wash and dry the car with microfiber towels. Ensure the surface is free of dirt, dust, and water spots.
Prepare Your Materials: Get a clean, soft applicator pad (a foam or microfiber applicator works well) and the sealant. Have a clean, dry microfiber towel ready for buffing.
Apply the Sealant: Put a few small drops of sealant onto the applicator pad—about the size of a dime should do.
Work in Sections: Apply the sealant to a small, manageable area (like a 2'x2' section) using overlapping, circular motions. This ensures even coverage and helps you avoid missing spots.
Spread Evenly: Use gentle pressure and make sure the sealant covers the surface evenly. Don’t forget to work it into crevices and curves.
Step 3: Allow the Sealant to Cure

After applying the sealant, give it some quality time to bond with your car paint—about 20 minutes should do the trick. This waiting period lets the sealant cure properly and set up for maximum protection.
Use this downtime wisely: tidy up your cleaning gear, catch up on the latest Nooners with Nick episode, or sneak in a power nap. Your truck’s got it covered, so you can take it easy while the sealant does its magic.
Step 4: Buff to Perfection

Grab a premium microfiber towel and get ready to give your car a glossy finish. Gently buff the surface to remove any excess sealant—think of it as giving your ride a final polish. This step not only enhances the shine but also ensures your car looks absolutely immaculate. It’s like putting the cherry on top of a perfectly polished sundae.
Step 5: Maintenance and Protection

To keep that protective layer in top shape, here’s the game plan:
- Wash Regularly: Use pH-neutral car wash products to keep your car clean without stripping away the sealant. Think of it as a gentle spa day for your vehicle.
- Watch the Beading: Keep an eye on how water beads off your car. When the beading starts to wane, it’s your cue to reapply the sealant. This way, your ride stays slick and protected, and you’ll always be the car care champion.
Pro Tip: Don't Forget The Little Stuff
Time to tackle those tricky spots! Grab a premium microfiber applicator to hand-seal those hard-to-reach areas like your rearview mirrors and headlights. It’s like giving your car’s little corners a VIP treatment, ensuring every inch gets the shine and protection it deserves!
Common Questions About Applying Car Sealants
How Long Does a Sealant Last On a Car?
Car paint sealants are like a good pair of shoes—they last anywhere from six months to a year, depending on how you treat them and the conditions they face. So, keep an eye on the weather and your maintenance routine to ensure your sealant stays in top shape and keeps your ride looking fabulous!
Does Sealant Protect Against Scratches?
Think of car sealants as your car’s trusty sidekick—they help reduce minor surface scratches but aren’t quite invincible. For top-notch scratch protection, consider upgrading to protective film or ceramic coatings. They’re like the superhero armor for your car, offering superior scratch resistance and keeping your ride in prime condition!
How is a Sealant Different from a Glaze or Wax?
Sealants: Provide long-lasting protection (6 months to a year), are made from synthetic materials, and offer great defense against environmental elements.
Glazes: Enhance shine and fill minor imperfections but don’t offer long-term protection.
Waxes: Add shine and some protection but last only a few weeks to a few months and aren’t as durable as sealants.
What's the Difference Between a Sealant and a Ceramic Coating?
Think of sealants as the reliable raincoat for your car—they’ll keep it protected for 6 months to a year, fending off dirt and UV rays with their synthetic magic. Now, ceramic coatings? They’re the full-on superhero suit, lasting 2 to 5 years, shielding your ride from scratches, chemicals, and everything short of a meteor shower. Plus, they make water bead off like your car’s got a force field! So, if you want long-term superpowers, ceramic’s the way to go.
What Order Should I Apply a Glaze, Sealant and Wax?
- Glaze first – It enhances shine and fills in minor imperfections.
- Sealant next – Locks in the glaze and provides long-lasting protection.
- Wax last – Adds a final layer of shine and an extra bit of protection.
Think of it as layering: glaze for the glow, sealant for the shield, and car wax for that cherry-on-top shine!