Opening the hood can feel intimidating, but the right cleaner makes the job far less daunting. Each formula, foam, gel, and spray delivers serious cleaning power in its own way. Here’s how they handle grime and keep your engine bay looking sharp.
Foam Cleaners: Cling and Conquer
Foam lays down a thick blanket that clings to surfaces instead of dripping away. This makes it perfect for vertical spots and hidden crevices where grime loves to hide. While the suds sit in place, they dissolve tough buildup and lift it away with ease. Watching the foam work its magic adds a satisfying visual payoff to the detail.
Gel Formulas: Targeted Precision
Gel is thicker by design, so it hangs right where you spray it. This added dwell time works wonders on stubborn, caked-on deposits. Our team likes gel formulas for detailers who enjoy taking a slower, more methodical approach. The clinging action makes it easier to focus on trouble zones while protecting sensitive areas nearby.
Spray Cleaners: Quick and Convenient
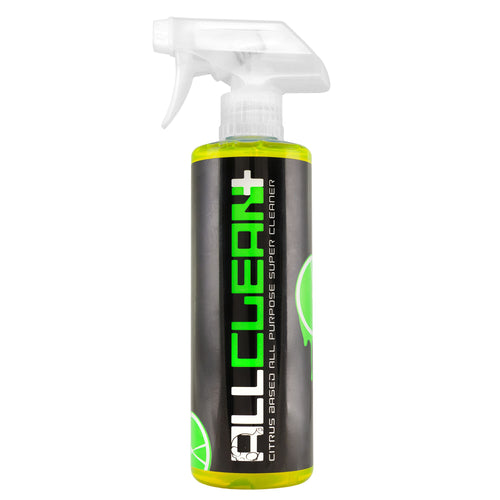
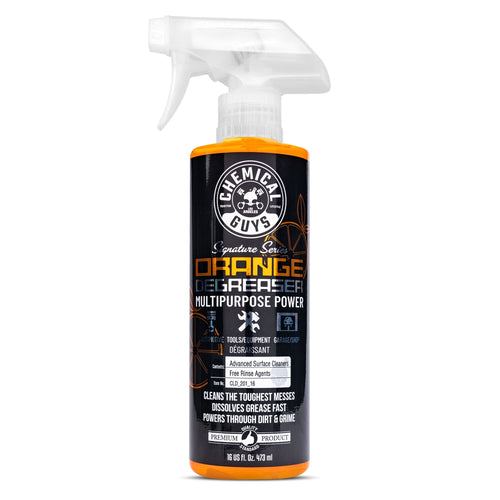
Spray bottles are built for speed. A few mists cover wide areas, making routine maintenance faster and simpler. Sprays are perfect when you want to squeeze a clean into a packed schedule. They break up grease, rinse away with minimal effort, and leave the bay refreshed in minutes.
Step-by-Step Engine Cleaning Guide for Beginners
Ready to tackle the heart of your ride? Cleaning your engine bay might sound like something best left to mad scientists, but with the right cleaner and a can-do attitude, you’ll have that engine sparkling in no time.
Cool It Down
Every great detail begins with safety. Always let your engine cool for at least thirty minutes after driving so you avoid burns and give surfaces time to settle. Treat this pause like the calm before the storm—the perfect moment to gather your gear.
Remove the Clutter
Open the hood and sweep away loose debris such as leaves, wrappers, or random odds and ends that have found their way inside. For extra caution, cover sensitive electrical parts like the alternator or exposed wiring with a small plastic bag to keep them dry during cleaning.
Pre-Rinse
Use a light mist of water to soften grime and prep the bay for cleaner. Gentle pressure works best here, more like a spring drizzle than a heavy jet. This quick rinse loosens buildup and sets the stage for stronger cleaning power.
Spray On the Engine Cleaner
Now for the main event! Evenly coat every surface with your cleaner of choice, paying close attention to heavily soiled spots. A detailing brush helps agitate stubborn dirt while foam clings and breaks down grease. This step gives you the satisfaction of seeing grime start to melt away.
Let It Dwell
Give the product a couple of minutes to sink into grease and oil. During this short wait, you can step back, admire the foamy coverage, and appreciate the transformation already underway.
Agitate and Rinse
Work your brush gently over the bay to lift away stubborn buildup. Once the surface looks ready, rinse with a soft stream of water. Keep the flow controlled so delicate components avoid unnecessary stress.
Dry It Off
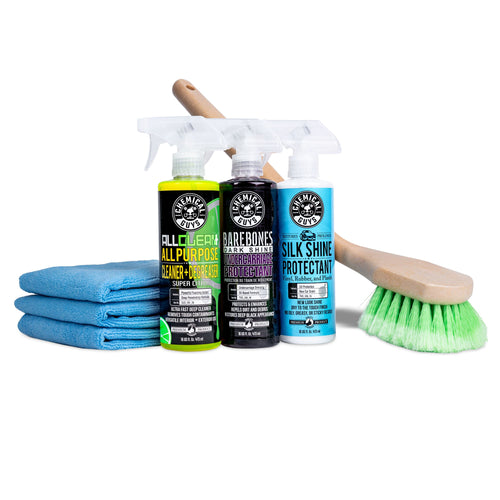
Shake off excess moisture with a microfiber towel. Compressed air gives you bonus points, but a towel works just fine. Double-check that you’ve removed any lingering cleaner, and bask in the glory of those gleaming metal parts.
Final Touches
Remove protective coverings and reconnect anything you secured earlier. Then, for that polished Chemical Guys finish, apply a quick detailer or conditioner to plastic trim and hoses. The added shine brings a satisfying final touch that makes your work stand out.
Read More:


