| Latest Innovations | |
| Chemical Guys News | |
| Exterior How-To's | |
| Interior How-To's | |
| Drying How-To's | |
| Ceramic How-To's | |
| Detailing University |

Key Takeaways:
- UV Damage Is the Culprit: Sun exposure wears down the factory clear coat, leaving the plastic to yellow and fog.
- You Can DIY It: A solid kit and about an hour of work restore most oxidized headlights at home.
- Sealing Is Non-Negotiable: Skip the UV sealant, and your freshly restored lenses will cloud up again more quickly than a sealed lens.
Ever catch your reflection in a headlight and wonder when it started looking like a fogged-up bathroom mirror? Oxidation creeps up slowly, a little yellowing here, a little haze there, until one day your car looks years older than it actually is, and worse, your visibility on the road takes a hit too.
At Chemical Guys, we've spent decades formulating car care products and teaching people how to get show-car results in their own driveway. Restoring headlights is one of the most satisfying wins in that playbook: cheap, fast, and a huge visual payoff.
In this piece, we'll cover why headlights fog up, the signs you're overdue, what you'll need, and a step-by-step method to bring them back clear.
Why Headlights Turn Yellow And Foggy Over Time
Headlights don't cloud overnight; it's a slow breakdown of the protective layer that keeps the plastic clear. Understanding the cause helps you fix it right and keep it from coming back.
UV Exposure Breaks Down the Clear Coat
Factory headlights ship with a thin UV-protective film over the polycarbonate lens. Constant sun exposure degrades that film, and once it's gone, the raw plastic underneath starts oxidizing and yellowing fast.
Road Grime and Chemicals Speed It Up
Bug splatter, road salt, harsh car wash chemicals, and exhaust residue all contribute to surface wear. Over time, this micro-etching adds haze on top of the UV damage, though UV exposure remains the best-documented primary cause.
Heat and Age Do the Rest
The bulb's heat and years of temperature swings make the plastic brittle and cloudy. Older cars almost always need attention here; it's just physics catching up.

Signs You Need Headlight Oxidation Removal
Not sure if it's time? These are the clearest tells that your lenses need help.
Yellow or Hazy Tint
If your once-clear lenses have a yellow, milky, or cloudy look, oxidation has set in. This is the most obvious sign and only gets worse if ignored.
Dimmer Night Vision
When your headlights don't light the road as they used to, fogged lenses may be reducing output; bulbs, alignment, and electrical or reflector issues should also be checked. Clearing the lens often noticeably restores brightness.
Rough or Chalky Surface
Run a finger across the lens. If it feels gritty, dull, or chalky instead of smooth glass-like plastic, you're overdue for headlight oxidation removal.
What You'll Need For Headlight Restoration At Home
Before you dive into headlight oxidation removal, it helps to have everything laid out and ready to go. Restoring headlights isn't complicated, but the right supplies make the difference between a clear, glassy finish and one that hazes right back up in a few months.
Browse our full Headlight Restoration lineup to find everything you need in one place.
A Dedicated Headlight Restoration Kit
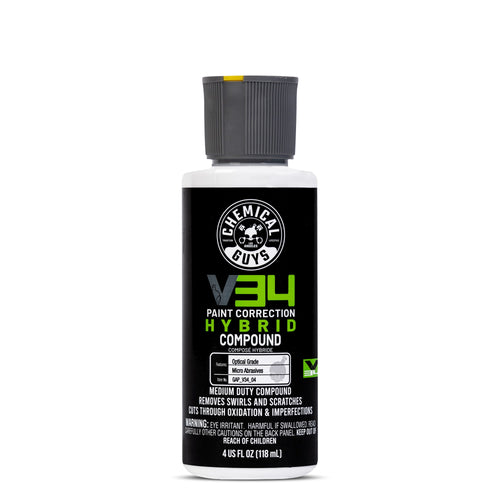
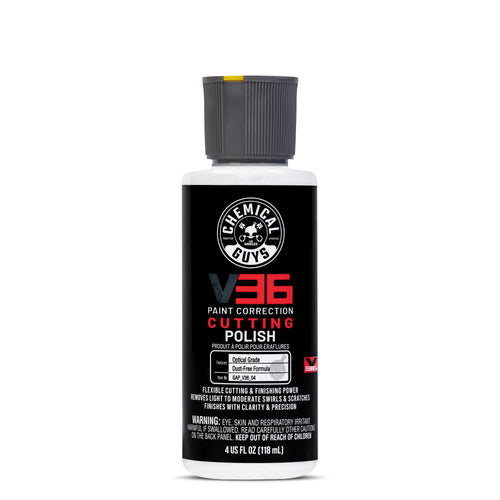
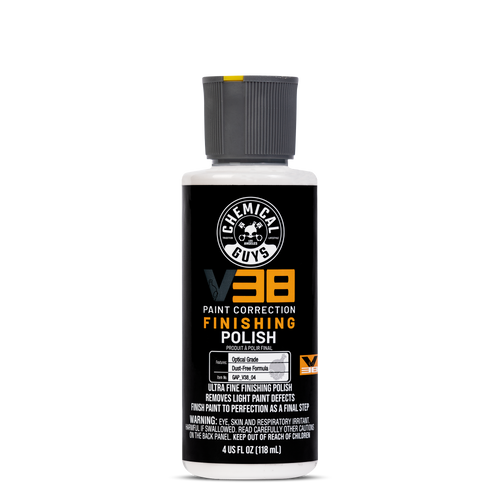
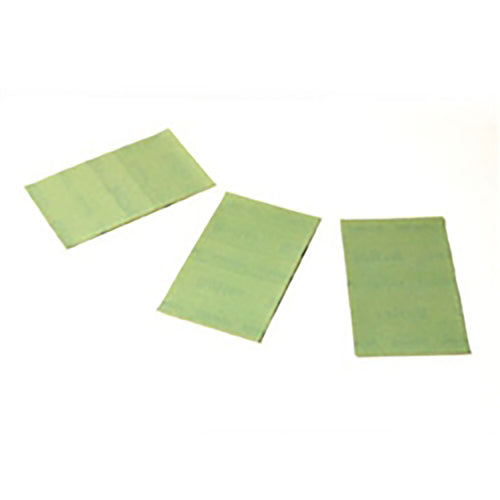
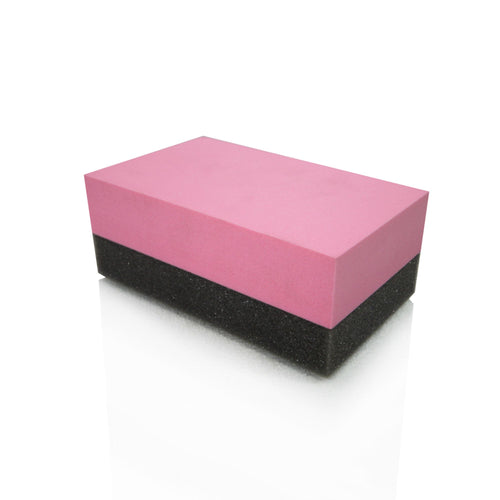
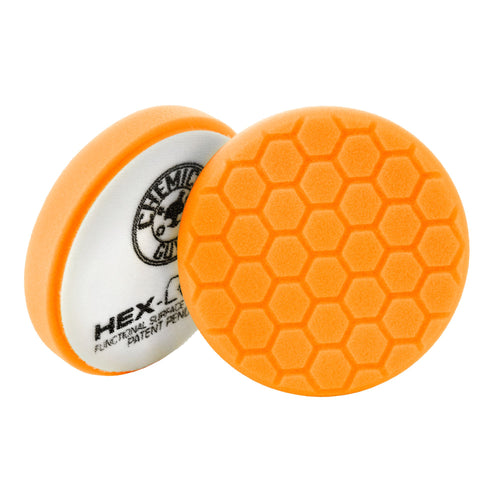
Look for a kit that includes sanding pads in multiple grits, a polishing compound, and a UV-protectant sealant. Sanding removes the damaged outer layer, polishing brings back clarity, and the sealant is what actually makes the results last.
Painter's Tape And Masking Materials
Headlights sit right next to painted panels, so you'll want painter's tape to protect the surrounding bumper or fender from accidental scuffing during sanding and buffing.
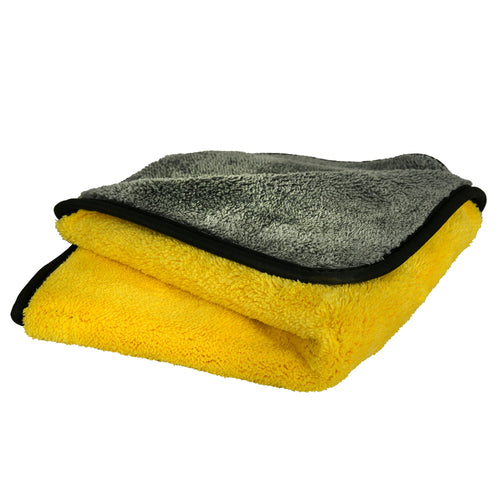
Microfiber Towels And Water
Keep towels and a spray bottle of water nearby to rinse away sanding residue between grits — this prevents leftover debris from scratching the lens as you move to finer sandpaper.
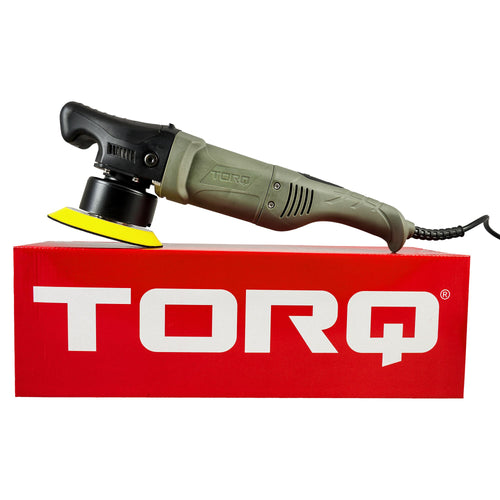
A Machine Polisher (Optional But Helpful)
While hand polishing works, a dual-action polisher speeds up the process and helps deliver a more even, professional-looking finish.
Step-by-Step: How To Restore Foggy Headlights
Here's the straightforward method to restore foggy headlights. Work on one lens at a time and don't rush the sanding. For even more detail on the cleaning side of things, the "how to clean headlights" guide is worth a read, too.
Clean and Tape Off
Wash the headlight and the surrounding area, then dry. Tape off the paint around the lens to protect it from sanding scratches.
Wet Sand the Oxidation
Soak your sandpaper and lens in water. Start with a coarser grit to cut through the yellowing, then work up through finer grits, keeping everything wet the whole time.
Polish for Clarity
Apply headlight restoration polish with a microfiber cloth or pad, then work it in. This removes the fine-sanding haze and restores transparency.
Seal It
Wipe the lens clean, then apply a UV sealant or coating. This is the step that makes your work last.

Sanding vs. Chemical Restoration: Which Method Works Best
Both methods have a place; it depends on how severe your oxidation is.
Chemical Restoration
Polishes and cleaners are perfect for light-to-moderate haze. They're less work, lower risk, and great for regular upkeep, but they won't fix deep yellowing on their own.
Wet Sanding
Sanding physically removes the damaged top layer, making it the go-to for heavy oxidation and deep yellowing. It takes more care but delivers the biggest transformation.
The Best of Both
For badly oxidized headlight repair, combine them: sand out the damage, then polish and seal for a clear, durable finish.
Sealing And Protecting Your Headlights After Restoration
Restoration without sealing is a temporary fix. Once you've sanded away the factory coating, the bare plastic is exposed and will oxidize again more quickly than a sealed lens.
Apply a UV Sealant
A UV sealant or ceramic coating replaces the protection you removed during sanding. It blocks the sun's rays that caused the damage in the first place.
Reapply as Needed
Sealants wear over time, so refreshing the protective layer every several months keeps your lenses crystal clear far longer.
How Often You Should Restore Your Headlights
Restored headlights may stay clear for many months to several years, depending on product quality, UV exposure, surface preparation, and whether a durable UV coating is applied.
Full Restoration
A complete sand-polish-seal usually only needs to be done every couple of years. If yellowing returns sooner, knowing how to fix yellowed headlights before the damage gets too deep can save you from a full restoration down the line. A quick polish and fresh sealant applied early makes all the difference.
Maintenance Touch-Ups
A quick polish and a fresh coat of sealant every few months stretches the time between full restorations and keeps oxidation from ever getting a foothold.

Final Thoughts
Restoring oxidized headlights is one of the highest-payoff jobs you can do in your driveway, with brighter night driving, a fresher-looking car, and a fraction of the cost of new assemblies. The formula is simple: clean, sand if needed, polish, and always seal. Do that, and your lenses stay clear far longer. Grab the right products at Chemical Guys and give your headlights the clarity they deserve.
Frequently Asked Questions About How To Restore Oxidized Headlights
Can I restore my headlights at home without professional help?
Yes, most oxidized headlights can be restored at home, often in about an hour, using a restoration kit with sandpaper, polish, and UV sealant, though the exact time depends on the severity of oxidation and curing time. No shop visit required.
What tools and materials do I need for headlight restoration?
You need automotive tape, wet/dry sandpaper in several grits, a headlight polish, microfiber towels, and a UV sealant. A restoration kit conveniently bundles these together.
Does toothpaste actually work to remove headlight oxidation?
Toothpaste's mild abrasives can lightly buff surface haze, but it won't fix real oxidation or last. A dedicated polish and sealant delivers far better, longer-lasting results.
Is wet sanding safe for my headlights, and how do I do it correctly?
Yes, wet sanding is safe when you keep the lens and sandpaper soaked with water and progress from coarse to fine grits, sanding evenly without pressing too hard.
Why is applying a UV sealant important after restoring headlights?
Sanding removes the factory UV coating, leaving bare plastic exposed. A UV sealant replaces that protection, blocking sun damage and preventing your lenses from fogging up as quickly.
How can I prevent my headlights from oxidizing again after restoration?
Seal them with a UV coating, park in the shade when possible, wash regularly, and reapply the sealant every few months to prevent oxidation from returning.