| Chemical Guys News | |
| Exterior How-To's | |
| Interior How-To's | |
| Drying How-To's | |
| Ceramic How-To's | |
| Latest Innovations | |
| Detailing University |
Your headlights play a crucial role in both the appearance and functionality of your vehicle. Over time, though, those shiny lights tend to get all foggy and yellow thanks to sun exposure and grime. Not exactly the look you want, right? It’s like your car has cataracts, and on top of killing the vibe, it’s seriously messing with your visibility, especially at night. Cloudy headlights mean you’re not seeing as far, as wide, or as bright as you should. Not ideal.
But hey, no need to spend thousands of dollars on new headlights! You can bring them back to life with a bit of elbow grease, a few basic tools, and about 1-2 hours of your time (depending on how bad those headlights look). Short on time? No problem—read our article on the Fastest Way to Restore Headlights in One Easy Step.
Let’s get into it.
What Causes Headlights to Oxidize?
Spoiler alert: It’s because they are old plastic. Most modern headlights are made of acrylic, which is great because it's lightweight, but it also has a habit of breaking down in the sun like a cheap pool floatie. Over time, the UV rays beat up the clear coat and expose the plastic underneath, making it turn yellow and foggy. Even though they come with a protective layer, it eventually wears off.
Before

Yellow and faded headlight which can cause a safety hazard when driving at night.
After

A fully restored, clean and full clarity headlight that will enhance visibility when driving at night and adding a better overall look to the vehicle.
Prepare Your Gear
Before you dive in like a superhero saving the night, make sure you’ve got your gear ready. The right tools will make this job a breeze, plus they’ll give you results that’ll have your car looking like it just rolled off the lot.
-
Masking Tape
Protects the vehicle's surrounding paint and trim from accidental scratches during restoration. -
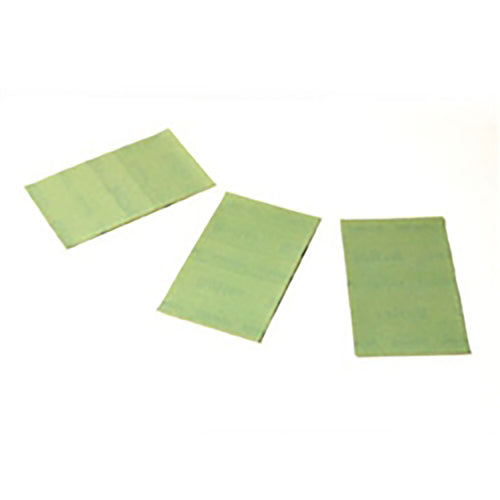
2000-grit and 3000-grit Sandpaper
Used to remove dead, oxidized plastic and refine the headlight surface. -
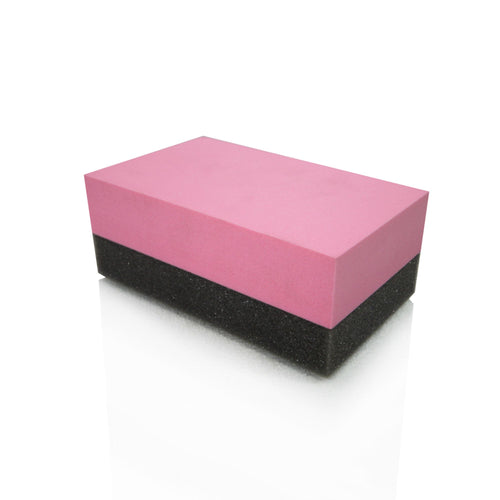
Sanding Block
Provides a firm, even surface for applying sandpaper to the headlight. -
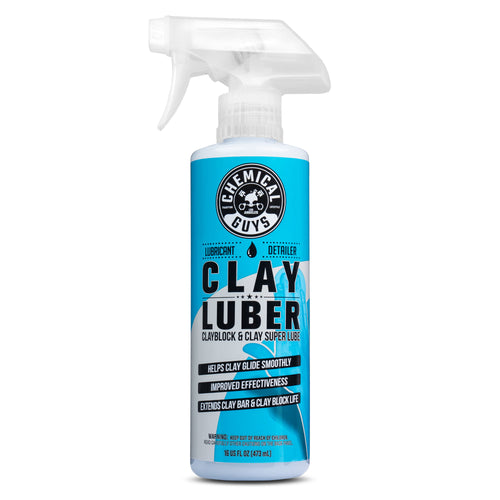
Clay Lubricant or Deionized Water
Keeps the surface lubricated during sanding to prevent scratching. -
Microfiber Towels
Used to clean and wipe off excess compound, polish, and sealant. -
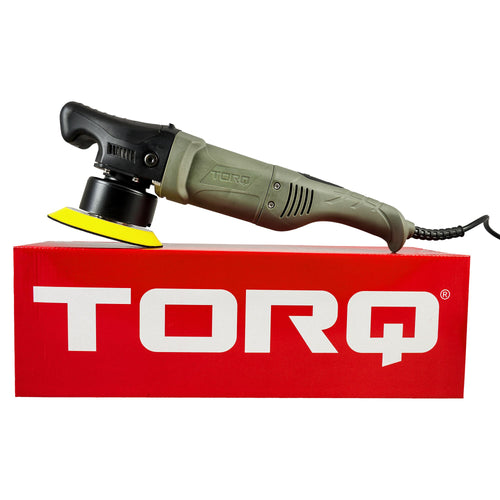
Rotary Polisher or Drill
Powers the polishing pads to speed up the restoration process. -
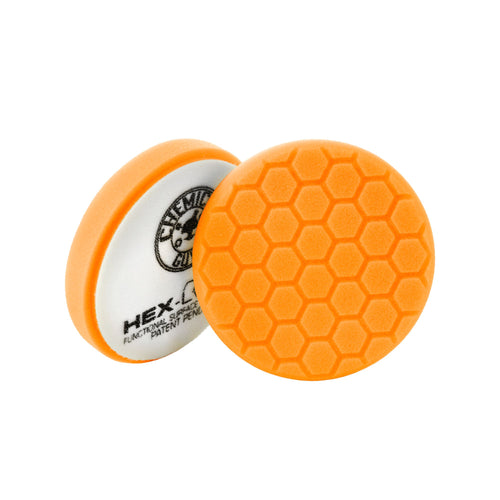
Orange Hex-Logic Cutting Pad
Used with compounds and polishes to evenly apply and work in the products. -
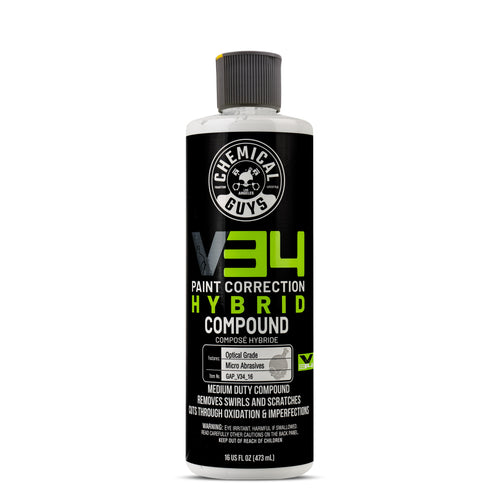
V34 Compound
Removes oxidation and deeper scratches for initial restoration. -
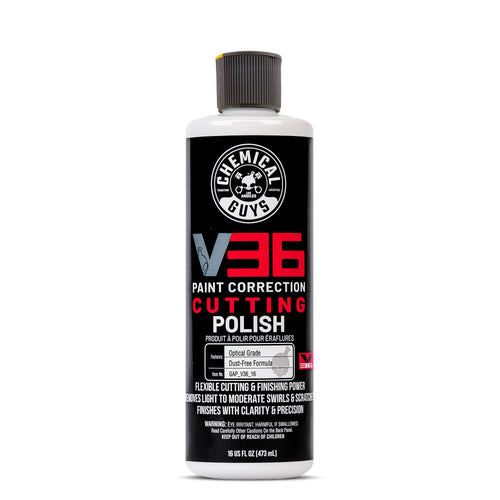
V36 Cutting Polish
Refines the headlight by eliminating medium scratches and enhancing clarity. -
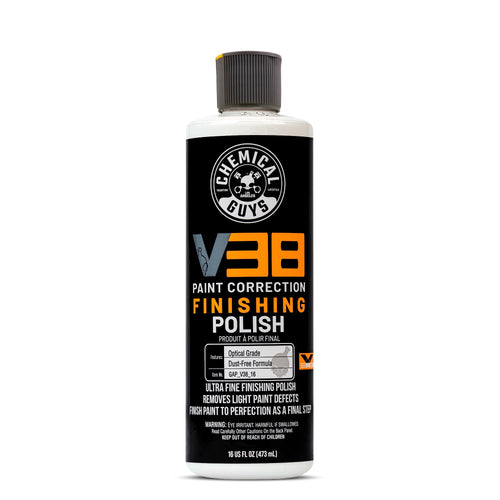
V38 Final Polish
Provides the final shine and clears light scratches for maximum clarity. -
JetSeal or UV-protective Sealant
Adds a protective layer to prevent future oxidation and extend clarity.
Step 1: Clean the Headlights

First off, give the headlights a good wash. Dirt and grime are not your friends here. Grab some soapy water or a quick detail spray and wipe them down to clear the surface. You don’t want any debris getting caught under your sandpaper.
Step 2: Mask the Surrounding Area

Use masking tape to protect your car’s paint and trim. It’s easy to get carried away while sanding, and a scratched-up paint job is not what we’re aiming for.
Pro Tip: Leave the hood up to avoid the risk of scratching it.
Step 3: Wet Sand the Headlight with 2000-Grit Sandpaper

Grab your pack of 2000 grit Latex Self-Adhesive Sanding Sheets—these beauties are like the magic erasers of the automotive world. Rip off that adhesive strip from the back, and slap it onto your Easy Grip Hyper Flex Water Spot Sanding Block like you mean it.
Next, douse that headlight in clay luber or deionized water until it’s soaked. We’re talking a nice, slippery surface—no one wants to do this dry.
Now, it’s time to channel your inner sandman. Start sanding in one direction, and watch that cruddy, oxidized plastic vanish like last week’s leftovers. Keep going until it feels smoother than a baby’s bottom.
Once you’ve got that initial layer off, switch it up. Sand back and forth, and do a little cross-hatch motion for good measure. You’ll see the water runoff looking like a yellowish sludge, but don’t worry; it’ll start turning white before your eyes. If things get too dry, give it a spritz of clay luber to keep the good times rolling. Keep at it until your headlight is free of all that nasty oxidation and has a nice, clear haze.
Pro Tip: The more junk you sand off at the start, the better your end result will be. Seriously, wipe it down with a microfiber cloth and hit it with some more sandpaper for good luck. Trust me, your headlights will thank you!
Step 4: Refine with 3000-Grit Sandpaper

Now switch to 3000-grit Latex Self-Adhesive Sanding Sheets to refine the surface. This will make polishing faster and smoother later on. By now, the headlight should start looking clearer—like there’s a light at the end of the tunnel (pun intended).
Step 5: Polish with V34 Compound

Grab your rotary polisher or trusty drill and slather some V34 Hybrid Compound onto that orange hex-logic cutting pad like it’s frosting on a cake.
Before you crank up the power, spread the compound over the entire headlight so it’s all coated up. Now, fire up the polisher and let it do its thing—work that magic until the abrasives break down and the headlight looks crystal clear.
Keep that polisher moving like you’re dancing at a wedding; you don’t want to burn a hole in the plastic.
Once you’re done, grab a premium microfiber towel and give it a good buffing to reveal that shiny, new look. Voilà! Your headlights are ready to shine!
Step 6: Refine with V36 Cutting Polish

Time to switch gears... Grab that white hex-logic pad and slather on some V36 cutting polish. Repeat the same process as before—just think of it as your headlights getting a spa day.
This magic potion will tackle those lighter scratches and amp up the overall clarity and shine. Your headlights will be so dazzling, they might just outshine your personality!
Step 7: Final Polish with V38

For that ultra-glossy, showroom-ready look, it’s time to bust out the big guns. Grab a fresh white hex-logic polishing pad and slather on some V38 final polish. This is your last step to shine domination—apply it like you mean it and watch your headlights transform into crystal-clear beacons of brilliance. Your ride will be so bright, it might just require sunglasses at night!
Step 8: Protect with JetSeal

Once you’ve polished those beauties to perfection, don’t skimp on the protection. Slap on some JetSeal to keep future oxidation at bay. This magic potion gives you up to 12 months of UV defense, ensuring your headlights stay crystal clear and fabulous. Just apply the sealant, let it do its thing for about 15 minutes, then buff away the excess with a microfiber towel. Voila! You’re now the proud owner of headlights that shine like a diamond in the rough!
Headlight restoration is like giving your ride a facelift without emptying your wallet. Forget about shelling out hundreds—if not thousands of dollars—on new headlights. This DIY magic not only amps up your car's looks but also cranks up your safety game when you’re cruising at night. By following the above steps, you’ll restore the full functionality of your headlights and ensure better visibility during nighttime driving.
And here’s the kicker: with a little TLC and protective magic like JetSeal, your headlights can stay as clear as your intentions for the next road trip—years down the line! So, don’t wait for those cloudy lenses to become a danger zone; restore them now and keep your car looking sharp and safe.

Chemical Guys products used for Headlight Restoration.
Frequent Questions About Headlight Restoration
Are there ways to do headlight restoration without a polisher or drill?
If you don't have a polisher or drill, you can use Orange Hex-Logic and White Hex-Logic hand cutting pads.
Is it ok to put the sand paper on the drill and use that to sand?
This isn't recommended, as sanding the headlights with the drill may remove too much material or cause crescent grooves.
What size backing plate should I use on the polisher or drill?
Using a 3 or 4 inch backing plate and pad will be easier to maneuver around the headlight.
How long with the headlight restoration last?
Depending on the products used and how well you maintain them, headlight restoration can last up to 12 months or more with proper UV protection.
How can I prevent my headlights from oxidizing in the first place?
- Apply a UV-Protective Sealant: Use a UV-protective sealant, like JetSeal, after restoring or cleaning your headlights. This helps create a barrier against harmful UV rays that cause oxidation.
- Regular Cleaning: Frequently wash your headlights to remove dirt, grime, and road debris. This prevents contaminants from building up and damaging the protective coating.
- Use a Car Cover: If possible, park your car in a garage or use a car cover to shield your headlights from direct sunlight.
- Apply a Ceramic Coating: For long-lasting protection, consider applying a ceramic coating specifically designed for headlights. This adds a durable layer that resists oxidation.
- Park in Shade: Whenever possible, park in shaded areas to reduce prolonged exposure to the sun's UV rays.
Does toothpaste fix cloudy headlights?
Toothpaste can temporarily clear up minor oxidation, but it's not a long-term solution compared to professional products.
Does WD-40 fix cloudy headlights?
While WD-40 can temporarily clear up cloudy headlights, it's not a permanent fix. It works by adding a layer of oil that makes the headlight appear clearer, but it doesn't remove the oxidation or restore the plastic. Once the oil wears off, the headlights will return to their cloudy state. For a lasting solution, it’s better to use proper headlight restoration products that remove oxidation and apply a protective sealant to prevent future clouding.
Will magic eraser clean foggy headlights?
Yes, a Magic Eraser can help clean foggy headlights, but it’s not the best or most long-lasting method. The abrasive nature of the Magic Eraser can remove surface oxidation, making the headlights appear clearer for a short time. However, it can also scratch the plastic if used too aggressively and doesn’t provide long-term protection. For better results, it's recommended to use dedicated headlight restoration products followed by a UV-protective sealant to prevent future cloudiness.
Does rubbing alcohol clean foggy headlights?
Rubbing alcohol can help clean foggy headlights temporarily by removing surface dirt and grime. However, it won’t fix oxidation or deeper cloudiness caused by UV damage to the plastic. While it may improve clarity slightly, it’s not a long-term solution. For a more permanent fix, it's best to use a proper headlight restoration kit, followed by a UV-protective sealant to prevent future fogging.
Can all headlights be restored?
Most acrylic headlights are ripe for restoration—unless they’re totally wrecked or scratched to the point of no return.