| Latest Innovations | |
| Chemical Guys News | |
| Exterior How-To's | |
| Interior How-To's | |
| Drying How-To's | |
| Ceramic How-To's | |
| Detailing University |
Use Two Buckets, Say Goodbye to Swirls
We’ve all seen swirls and scratches over our cars and wondered how do they get there? Well, the answer is you might be more to blame than you think!
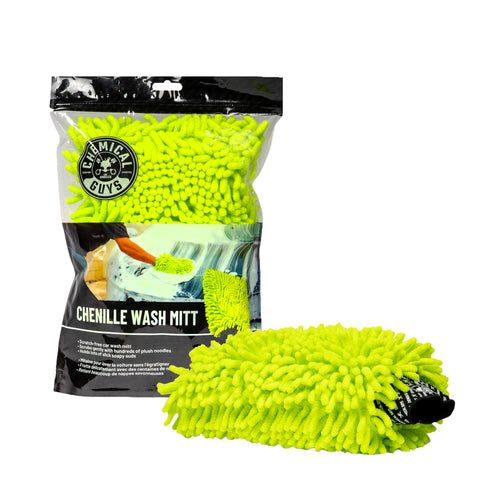
Over 95% of swirls and scratches come from improper car washing techniques: using the wrong wash method, one bucket, not using enough soap, using old rags and towels to dry. The trick is to use two buckets, a good quality mitt, premium towels, and some sort of wash screen.
The key and overall goal is to keep abrasive dirt and debris off your car and away from the paintwork. Imagine pulling your wash mitt off your filthy car.
The chenille microfiber noodles suck up all the dirt and debris that were sitting on your paint, and now all that dirt and debris is on your mitt! Dipping that mitt into a single wash bucket will remove all the dirt and debris, but then it will just be floating in the bucket, reattaching itself to your mitt and winding up back on your paintwork, which causes swirls and scratches. Instead, professional detailers use the two bucket method, dipping the filthy mitt first into a rinse bucket to dislodge the heavy dirt and debris.
Only once that mitt has been rinsed, does it go into the wash bucket, where it picks up tons of soapy water and suds to once again be applied to your car. Follow the steps below to get the perfect scratch free wash each and every time!
Step 1: Rinse Bucket
Take one bucket and fill it with water and a Dirt Trap. This will be your rinse bucket and will be the first stop for your filthy wash mitt after you pull it off the car.
Step 2: Wash Bucket
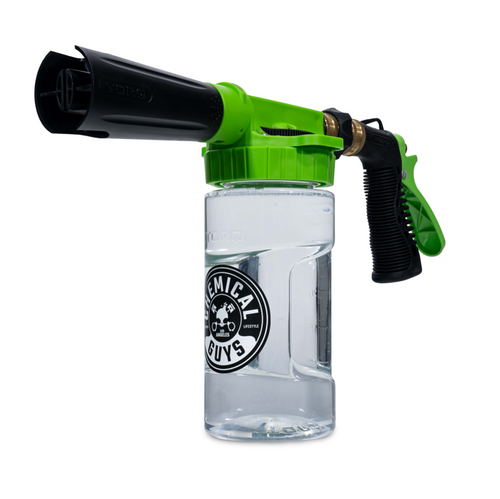
Fill a second bucket with a dirt trap and 1-3 oz of your favorite Chemical Guys soap. This will be your Wash Bucket, which is the second stop for your wash mitt. Activate the suds by spraying high pressure water into the bucket.
Step 3: Rinse Car
Rinse the car using pressurized water only to remove the largest dirt and debris, getting rid of it before you even have a chance to put mitt to paintwork.
Step 4: Rinse Car
Rinse the car using pressurized water only to remove the largest dirt and debris, getting rid of it before you even have a chance to put mitt to paintwork.
Step 5: Wring Wash Mitt
Wring mitt out over the ground away from your vehicle. This will purge the majority of the dirt and debris on the floor, so it doesn’t wind up in your rinse bucket and off your car.
Step 6: Wash The Mitt
Return the soiled wash mitt to the rinse bucket first. Rub the dirty wash mitt against the Dirt Trap to agitate the stuck-on dirt, causing it to fall off the mitt and into the trap below. When all dirt has been dislodged, remove it from the rinse bucket, and wring out.
Step 7: Resoap Mitt & Repeat
Place clean wash mitt back into the wash bucket to soap it up again. Repeat process until entire car is clean, then rinse and dry car.