| Latest Innovations | |
| Chemical Guys News | |
| Exterior How-To's | |
| Interior How-To's | |
| Drying How-To's | |
| Ceramic How-To's | |
| Detailing University |
Who doesn't dream of cruising down the coast in a convertible, wind in their hair, and the sun on their face? It’s like a scene straight out of a movie—minus the part where your convertible top turns into a grimy, faded mess. Yep, those soft tops can get pretty dirty from pollution, spills, and the occasional bird attack. If you don’t give them some TLC, they'll start looking like they’ve been through a demolition derby.
But fear not! Cleaning your convertible top to keep it looking fabulous isn’t rocket science. With a bit of regular cleaning and some basic protection, you can fend off the nasty effects of the sun, grime, and rogue rain showers.
So, buckle up and follow these easy steps to clean and protect your convertible top. Your car—and your cool factor—will thank you.
Choosing the Right Convertible Top Cleaner
Before you dive into cleaning your convertible top, make sure you’re armed with the right gear. You wouldn’t use a chainsaw to trim your hair, right? Same goes for your car’s soft top. Steer clear of cleaners with bleach, citrus, or petroleum—unless you’re into turning your convertible into a science experiment gone wrong.
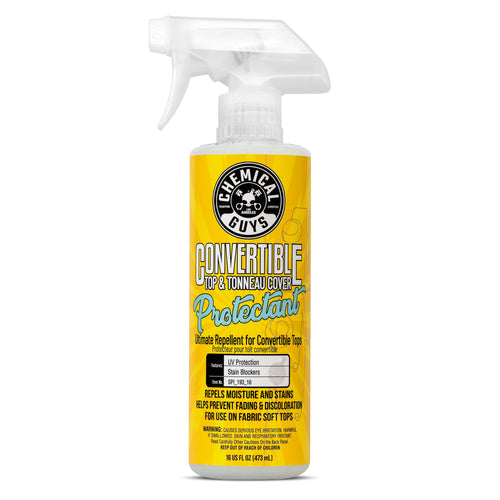
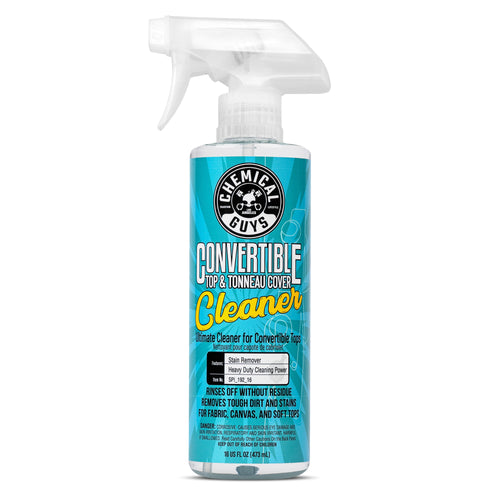
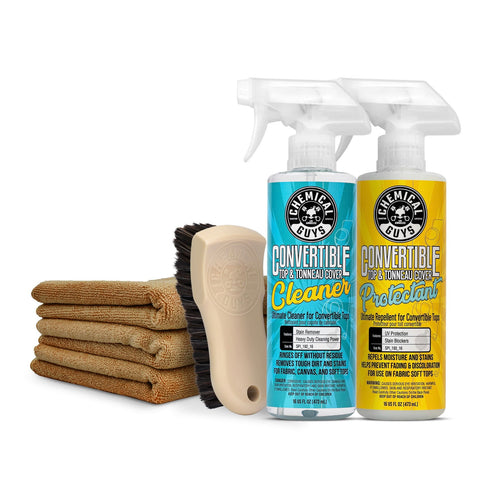
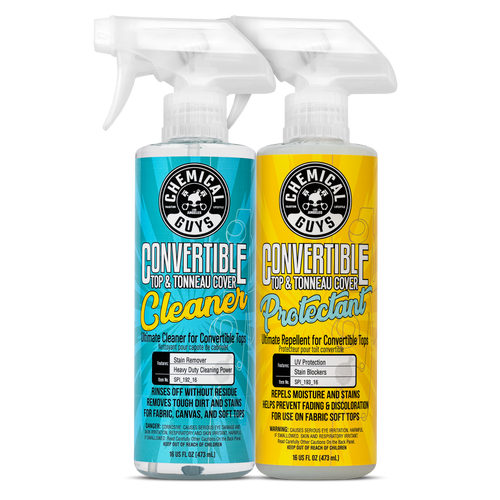
Enter Chemical Guys Convertible Top Cleaner: your new best friend. It’s like a spa day for your top—gentle on fabric, vinyl, and synthetic materials, ensuring no surprises. And don’t forget the Convertible Top Protectant and Repellent. It’s the superhero cape your top needs, fighting off dirt and water like a pro. Whether your soft top is vinyl, fabric, canvas, or synthetic, it’s got you covered. So gear up and keep your ride looking as fresh as the day it rolled off the lot.
Prepare Your Gear
Prepare for Cleaning
Before you start your convertible top makeover, give it a once-over for any tears, holes, or major damage. If you spot any, patch them up first—nobody wants a surprise water feature in their car.
Find a shady spot for your cleaning session. It’s like choosing the perfect spot for a sunbathing session but for your car. Make sure the top is dry before you dive into cleaning—wet tops and cleaning solutions don’t mix well and can turn your detailing job into a soggy mess.
Step 1: Give the Convertible Top a Pre-Rinse

Grab the hose and give that convertible top a good rinse—think of it as a pre-party shower for your car. This step gets rid of the loose dirt and debris that can turn your cleaning session into a scratch-fest. Plus, it makes the whole cleaning gig a lot more effective. Get rid of the junk before you get down to the serious scrubbing.
Step 2: Spray the Convertible Top

Time to bring out the big guns: spray that Convertible Top Cleaner all over your soft top like it’s a refreshing mist for your car. Let it hang out for a bit so it can work its magic on the dirt and grime. This advanced formula is a no-brainer—it’s friendly to fabric, vinyl, synthetic tops, and even tonneau covers. Let the cleaner do its thing while you sit back and enjoy the show.
Step 3: Scrub the Convertible Top

Grab your Convertible Top Brush and get scrubbing! Gently work the cleaner into the top to banish dirt and grime. If you’re feeling extra ambitious, spray some cleaner directly onto the brush for an extra burst of cleaning power.
Remember: Soft tools only! Hard brushes are like that annoying friend who always overstays their welcome—they can pill the fabric and make your top look ancient before its time. (Nobody likes a tattered top.)
Scrub in a smooth, circular motion to ensure every inch gets the VIP treatment. Your convertible will thank you with a pristine finish and zero complaints about premature aging.
Step 4: Rinse the Convertible Top Thoroughly

Alright, it’s rinse time! Here’s how to give your convertible top the final splash of TLC:
- Channel Your Inner Gentle Giant: Grab the hose and switch to a gentle stream. We’re aiming for a soothing drizzle, not a hurricane. Remember, you’re rinsing a top, not trying to win a water fight.
- Top-Down Rinse Dance: Start from the top and work your way down like you’re washing a giant, fancy towel. Let gravity do its thing and help you out by making all that cleaner and grime drip away gracefully.
- Ditch the Fire Hose: High-pressure washers are for epic battles, not car care. They might turn your soft top into a water park, and not in a fun way. Keep it gentle to avoid turning your convertible into a splashing mess.
- Spot Check Like a Detective: After rinsing, play detective and make sure no cleaner or sneaky dirt spots are lurking. If you spot any, give them a quick rinse to set them straight.
And voilà! Your convertible top is now clean, fresh, and ready to turn heads again.
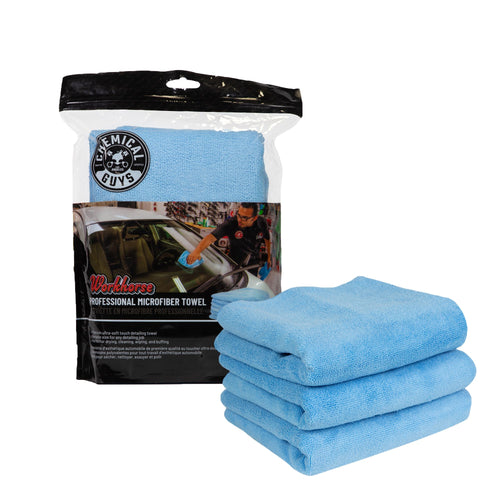
Step 5: Dry the Convertible Top

Grab a microfiber towel—your new best friend for this mission. This towel is like a magic wand for wiping away dirt, grime, and any leftover cleaning product.
Now, gently dry off the top like you’re giving it a delicate pat-down. Start from the roof and work your way down, because nobody likes streaky water spots. Think of it as giving your convertible a spa-quality massage but without the cucumber slices and soothing music.
Let the top air dry completely (1-2 hours) before proceeding to the next step, but avoid direct sunlight unless you want it to tan and get streaky. Your convertible top deserves a cool, shaded chill-out session.
Step 6: Seal and Protect the Convertible Top

Listen up! Protecting your convertible top isn’t just a good idea—it’s a must. Think of it as giving your car’s soft top a superhero cape against water, pollution, and other nasty stuff that loves to ruin your ride.
Enter Convertible Top Protectant: the magical shield your top needs. This stuff is like a bouncer at a nightclub, keeping water and pollutants from crashing the party and causing damage. It’s got hydrophobic powers that make water bead off faster than a celebrity avoiding paparazzi, keeping mold at bay and your top looking like new.
Just give your soft top a gentle misting of this wonder potion, and let it chill for 15-20 minutes. It’ll form a nifty water-resistant barrier to fend off the elements. Feeling extra cautious? Slap on a second coat for that double layer of defense. Your convertible will be ready to take on the world—or at least the next rainstorm—looking fresh and fabulous!
Maintaining Your Convertible Top
Alright, let’s get real about maintaining your convertible top. First off, rinse it with a powerful jet of clear water at least once a month. This isn’t just a fancy recommendation—it’s how you kick loose dirt to the curb.
For those of you who leave your ride outside or live in a pollution hotspot, aim to wash it every 1-2 weeks. Think of it as a regular spa day for your car, because nobody wants their convertible looking like it’s been through a mud wrestling match.
Apply that protectant every 4-6 weeks to keep your top in superhero mode. You know, because who wouldn’t want their convertible to have a shield against the elements?
When your car's taking a nap, keep the top up. It’s like keeping your clothes off the floor—prevents unnecessary creases and bends. And before you lower it, make sure you’ve cleared out any debris. No one likes a surprise scratch or tear, especially when you’re trying to look cool.
Lastly, keep an eye out for wear and tear. If you spot frayed seams or water sneaking in, tackle those repairs pronto. Ignoring them will just lead to bigger problems, like leaks or a top that looks like it’s been through a war.
Cleaning Rear Vinyl Windows
Grab a soft microfiber cloth and a mild soap solution—think of it as a gentle spa treatment for your car's rearview.
Steer clear of ammonia-based products. Using them is like pouring bleach on your favorite shirt—totally wrecks the vinyl. Regularly cleaning these windows will keep them from turning into foggy, yellow nightmares that make you look like you’re driving through a cloud of mystery.
Additional Tips for your Convertible Top
Avoid Harsh Chemicals
Listen up: your convertible top isn’t a science experiment, so don’t go dumping household cleaners on it. Those things are packed with bleach, ammonia, vinegar, and other nasty chemicals that’ll turn your soft top into a sad, damaged mess faster than you can say “oops.”
Stick to products made specifically for convertible tops—like Chemical Guys Convertible Top Cleaners & Protectants. Think of them as the VIP treatment your car’s fabric needs. They’re designed to keep your top looking sharp without turning it into a chemical casualty. So, ditch the household cleaners and give your convertible the specialized care it deserves!
Avoid Automatic Car Washes
Avoid automatic car washes with brushes or high-pressure settings, as they can cause fraying and damage to the convertible top as well as your paint.
Repair Rips and Tears Quickly
Got a rip or tear in your convertible top? Don’t just stare at it hoping it’ll magically fix itself. Start by giving the area a good clean with a gentle cleaner to kick the grime and debris to the curb. Next, grab a fabric or vinyl repair kit—you know, the one that’s basically like a first aid kit for your car’s top. Slap on the adhesive patch or liquid sealant as directed, making sure it’s snugly pressed down. Let it cure for about 24 hours. Think of it as giving your top a little vacation from being in the elements. When you’re done, your convertible will look as smooth as a freshly waxed surfboard, and you’ll have one less thing to worry about!
Be Careful with Pressure Washers
Pressure washers and convertible tops are like mixing oil and water—just don't do it. Using a pressure washer on your convertible top can turn a simple cleaning task into a high-stakes game of damage roulette. The intense force of a pressure washer can blast away more than just dirt; it can tear your top, strip away any protective coatings, and potentially cause leaks. Stick to a gentle hose and soft brush to keep your convertible looking sharp without the drama. If you’re itching for a deep clean, go with products specifically designed for convertible tops and let your top enjoy a stress-free wash.